
How to Make Your Own Hockey Jersey: From Idea to Approved Mockup
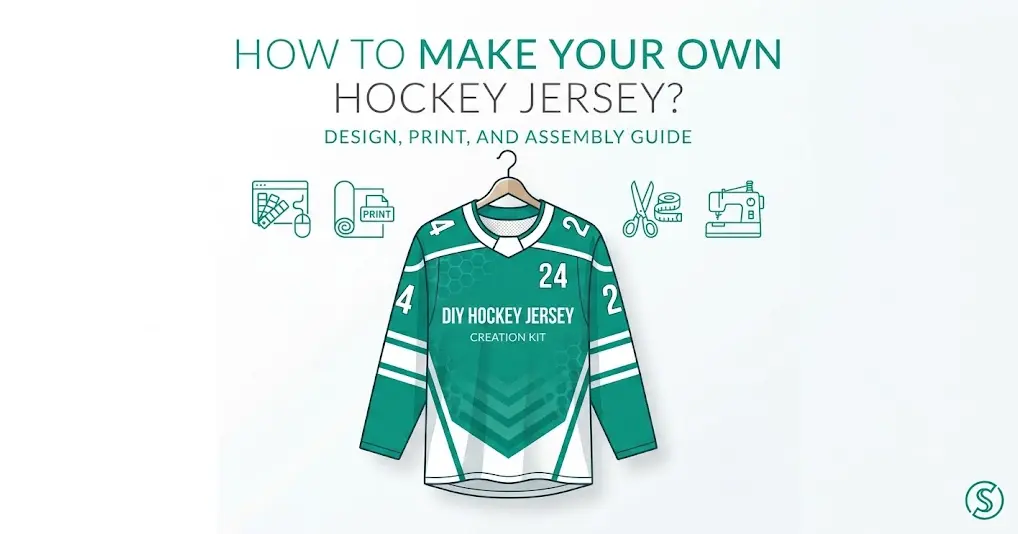
Most custom orders go wrong before production starts. The design looks fine, but the logo file is weak, the roster is half finished, or the team never checked how the jersey will fit over pads.
A better process turns the jersey from an idea into a clean proof that a supplier can actually produce.
Start with decisions, not decoration. When the artwork, roster, sizes, and deadline are organized, the design part becomes much easier.
Build the concept around the team identity
Pick the main color first, then choose a secondary color and one accent. That gives the crest, stripes, and numbers enough room to stand out.
A hockey design needs big readable shapes. Tiny details may look clever on a screen, but they usually vanish once the player is moving.
Use this quick checklist before moving forward:
- Main color: Let this carry the design.
- Secondary color: Use it for contrast and striping.
- Accent color: Reserve it for outlines or small details.
- Crest or logo: Make sure it is strong at rink distance.
- Number style: Choose readability over novelty.
- Stripe direction: Keep it consistent across body and sleeves.
Prepare the files and roster
Clean artwork matters. A sharp vector or high-resolution logo gives the designer room to scale the crest without blurry edges.
The roster should include player names, numbers, sizes, C/A letters, and goalie cuts. If socks are part of the order, include those sizes too.
Review the mockup like a production document
Look at every area before approval: front, back, sleeves, shoulders, collar, socks, and goalie version. Check name spelling and number order line by line.
Once the proof is approved, changes may cost time or money.
Think about reorders before you pay
Ask whether the supplier keeps the design on file and whether single-piece replacement orders are allowed. Teams rarely stay frozen after the first order.
That answer can matter more than a small difference in first-order price.
Do not start with every idea at once
Most amateur designs fail because every player wants to add something. One person wants flames, another wants a sponsor panel, and someone else wants three outline colors on the number.
Choose the team identity first. Once the crest, colors, and number style are stable, smaller details become easier to judge.
Make the roster boring on purpose
A boring roster sheet is a beautiful thing. One row per player, no merged cells, no comments hidden in another tab, and no nicknames unless those are truly going on the back.
The supplier should not have to interpret the order. Clean data keeps production moving.
Approve the design for every size
A layout that looks balanced on an adult large can feel crowded on a youth small or stretched on a goalie cut. Ask how the design scales across the size range.
This is especially important for sleeve numbers, side panels, and lower-body striping.
Details worth verifying before you order
This is where a generic article usually stays vague. A real team buyer should check the operational details that affect price, timing, fit, and whether the finished jersey matches the proof.
Use these checks to turn the article advice into a cleaner purchase:
- Artwork check: Logo quality and colors. Before approval, use this as a real order checkpoint: prevents fuzzy crests and mismatched shades.
- Roster check: Names, numbers, sizes. Before approval, use this as a real order checkpoint: avoids expensive correction orders.
- Fit check: Player and goalie cuts. Before approval, use this as a real order checkpoint: protects pad clearance.
- Deadline check: Production and shipping window. Before approval, use this as a real order checkpoint: keeps tournament dates realistic.
Common mistakes to avoid
Most design mistakes come from approving the first good-looking preview instead of checking whether the design can survive production and rink-distance viewing.
- Overcrowding the layout: Too many logos, outlines, and stripes reduce readability.
- Approving without roster review: Spelling and number errors are easier to catch before production.
- Forgetting scale: Youth sizes and goalie cuts may need layout adjustments.
- Trusting screen color too much: Colors can shift on fabric, so contrast matters more than monitor perfection.
A practical design workflow
Start with a clean concept, then turn it into a proof that can be checked. The team should approve colors, crest, number style, roster data, and production timing in that order.
Before final approval, compare the proof with the roster line by line. The design is not truly finished until the production details match the people wearing it.
Before You Submit the Order
| Step | What to confirm | Why it matters |
| Artwork | Logo quality and colors | Prevents fuzzy crests and mismatched shades |
| Roster | Names, numbers, sizes | Avoids expensive correction orders |
| Fit | Player and goalie cuts | Protects pad clearance |
| Deadline | Production and shipping window | Keeps tournament dates realistic |
Pro tip: Do not approve a proof from your phone only. Open it on a larger screen and check every name and number slowly.
Conclusion
A custom jersey works best when the creative idea is backed by clean files, complete roster data, smart sizing, and careful proof approval. That process gives the final order a much better chance.
FAQs
What files do I need to design your own hockey jersey?
Use the cleanest logo file available, preferably vector artwork or a high-resolution transparent file.
Can I change the design after approval?
Sometimes, but changes after approval can delay production or add cost. Confirm before signing off.
Should I order a sample first?
For large programs, a sample can help confirm fabric, fit, and colors before a full order.