
How to Lace Baseball Cleats and Identify the Right Outsole
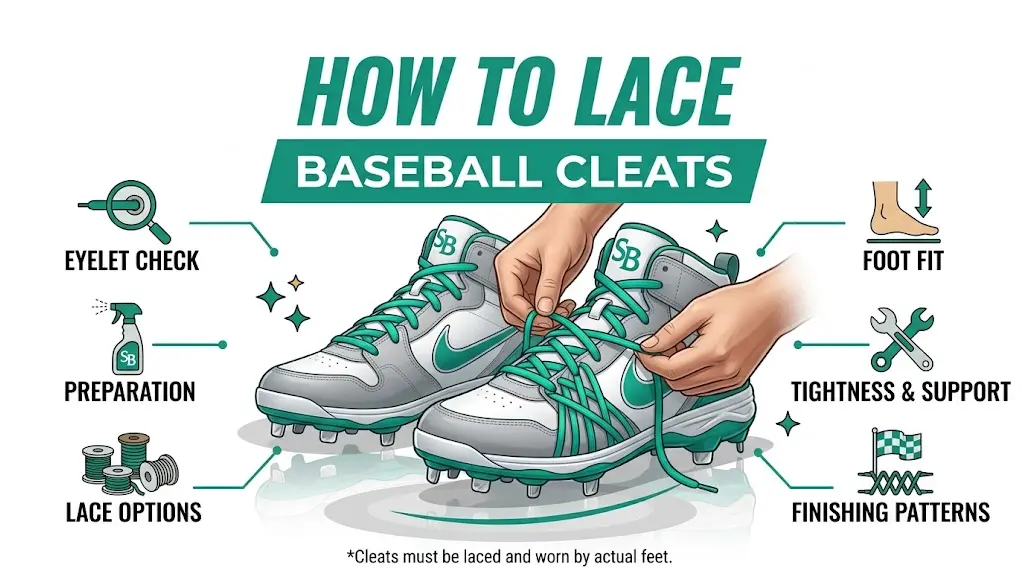
Before changing the laces, flip the shoe over. Metal, molded, TPU, turf, and training outsoles are made for different rules and surfaces.
Once the cleat type is right, lacing can solve heel slip, top-foot pressure, and loose midfoot feel.
Identify the outsole first
Metal spikes are thin and bite into dirt and grass. Molded and TPU studs are common for youth and mixed fields. Turf shoes use many smaller rubber nubs.
League rules matter. Younger Little League divisions do not allow metal spikes.
Cleat setup begins by identifying the outsole. Metal spikes, molded studs, TPU plates, turf shoes, and trainers all behave differently and may be treated differently by leagues. Youth divisions often restrict metal spikes, while older players may be allowed to use them on appropriate fields. Check the rule and the surface before assuming one pair works everywhere.
When check the outsole connects with outsole, the player gets a clearer feel for whether this fix is ready. The outsole decision should not create doubt once the player leaves the house. If outsole still feels uncertain during warmups, pause the change and make one cleaner adjustment before game speed.
Use standard lacing for a balanced fit
Start by tightening from the lower eyelets upward. Pulling only the top tight leaves the forefoot loose.
The cleat should feel secure without squeezing the toes or top of the foot.
Lacing should solve a specific fit problem. Heel slip may improve with a heel-lock finish, while pressure on top of the foot may need skipped eyelets or a looser midfoot. Do not simply pull every lace as tight as possible. A foot that goes numb or hot during warmups will not get better in the fifth inning.
Use use heel lock for slip as the parent or coach check before the player leaves for the field. For metal, a neat result matters less than durability through sweat, dirt, handling, and movement. If metal fails after one practice, revisit the material, size, or method instead of repeating the same quick fix.
Keep this short checklist nearby:
- Check the outsole
- Confirm league rules
- Tighten from the bottom
- Use heel lock for slip
- Retest after warmups
Check Our Customized and Sublimated Printed Baseball Uniform Line.
Try heel lock for slipping
If the heel moves, use the top eyelets to create a heel lock. That helps the back of the shoe stay seated.
Heel lock lacing is useful for quick starts, base running, and fielding movement.
Baseball movements are not the same as jogging. Players accelerate, stop, rotate, and push laterally, so the shoe should hold the heel without crushing the toes. Have the player sprint a few steps, shuffle, and take a swing. If the foot slides inside the shoe, the laces, socks, or size need attention before game speed.
The molded choice turns a vague preference into a practical baseball decision. Match molded to the player’s age, position, weather, schedule, and care routine. If molded creates extra work before every game, the cleaner-looking option may still be the wrong one for a busy season.
Use this comparison before making the final call:
| Choice | Why it matters | Best use |
| Outsole | Use | Rule note |
| Metal | Grass and dirt grip | Older divisions only |
| Molded | Youth-friendly traction | Widely allowed |
| TPU | Light performance studs | Check league |
| Turf | Artificial surfaces | Not ideal for dirt |
Change the pattern for pressure
If the top of the foot hurts, window lacing can create relief over the sore spot. Fit should improve without leaving the shoe unstable.
Retie after warmups because cleats can settle once the player starts moving.
Keep a field-specific backup when possible. Turf facilities may not allow metal spikes, wet grass can make worn molded studs risky, and indoor cages are better with trainers or turf shoes. A small footwear plan prevents players from arriving with the wrong outsole and trying to solve traction with over-tight laces.
After checking tpu, pack or store the item in the same condition the player expects next time. Keep tpu away from damp laundry, rubbing accessories, and untested last-minute changes. With use heel lock for slip handled early, the player can focus on baseball instead of equipment noise.
Pro tip: Do not buy cleats by color first. The outsole and league rule decide whether the shoe can actually be used.
Cleats should be chosen by field, rule, and foot problem. Metal, molded, TPU, turf, and trainers each have a place, but none of them solve every baseball surface. Keep backup footwear for indoor cages, turf facilities, wet grass, and divisions with spike limits. Proper lacing helps only after the right outsole is on the player’s foot.
Do not ignore socks when judging cleat fit. Thin socks can make a shoe feel loose, while thick socks can create pressure under tight laces. Players who wear ankle braces should test cleats with the brace in place. The lace pattern, sock thickness, and outsole all work together once the player starts cutting and stopping.
Inspect cleats during the season, not only when buying them. Worn studs, bent metal, torn eyelets, and smooth turf soles change traction. A player who suddenly slips may not be losing athleticism; the outsole may simply be finished.
Conclusion
Good cleat setup starts under the shoe. Identify the outsole, confirm the rule, lace from the bottom, and adjust for heel slip or pressure. The right fit helps players move without fighting their footwear.
FAQs
Are metal cleats legal for youth baseball?
Not in many younger divisions. Always check the league rule.
What is heel lock lacing?
A method using the top eyelets to reduce heel movement.
Can turf shoes be used on dirt?
They can work for light practice, but they are not the best choice for dirt and grass games.